Hey friends. A quick, summer-length note here with a bread that’s perfect for tabletop pizza ovens (but, can also be baked in the home oven). I hope everyone is finding some time to recharge. Love from Vermont. Martin
Even when summer lands and the heat is stifling, I bake. It’s hot, I sweat — so what! Let me have my fun. And, in addition to heating up the inside of our house, I bake outside, too, in our Ooni pizza oven. From bagels to roasted vegetables (shishito peppers, zucchini, corn, green beans, charred lettuces — basically everything), fish, chicken, and of course, every style of pizza under the hot sun, we keep the home fires burning, all year long.
A recent favorite that’s perfect for the season has been these Italian sticks (which you sometimes see called “stecca” or “stecche”). They are basically a dough with plenty of olive oil and 20% of the flour coming from the best cornmeal that I can find. With the oil and non-glutinous cornmeal, I’m aiming for the indulgent, golden intersection between maximum tenderness and a beautifully charred crust. To shape, I stretch the dough then simply cut sticks with a pizza wheel, dimple, then top with fresh cherry tomatoes, cured meats, pickled Calabrian peppers, fresh mozzarella, or basically anything I can think of. I bake them hot, just until I see our neighbors waving their noses towards our deck. Let’s make them.
A quick reminder that you can support the ongoing work, recipes, writing, and craft that is the Curio by clicking the link below. I appreciate the support!
Italian Sticks
Yield: 4 13” sticks
All-purpose flour, (11.7% protein), 247g
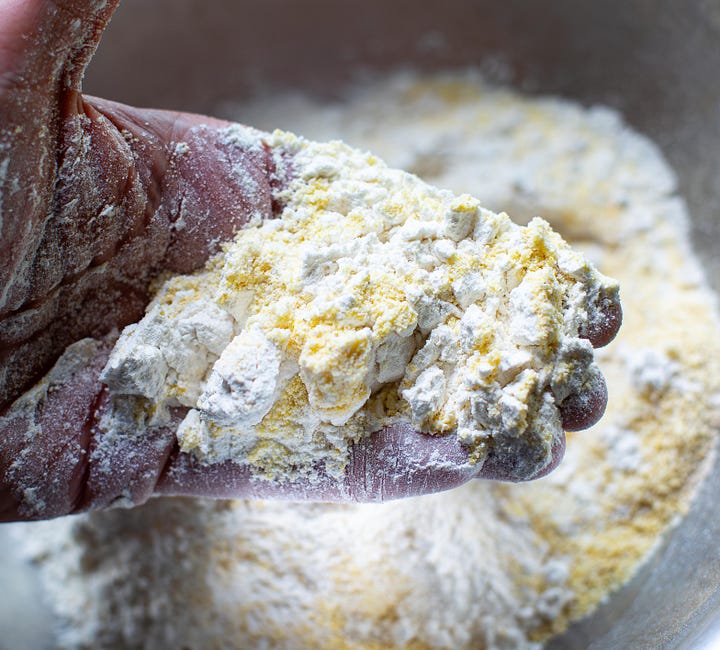
Cornmeal, finely ground, 62g
Salt, fine, 6g (1 t)
Yeast, instant, 1g (scant 1/2 t) (double this amount in cool months)
Water, tepid, 216g
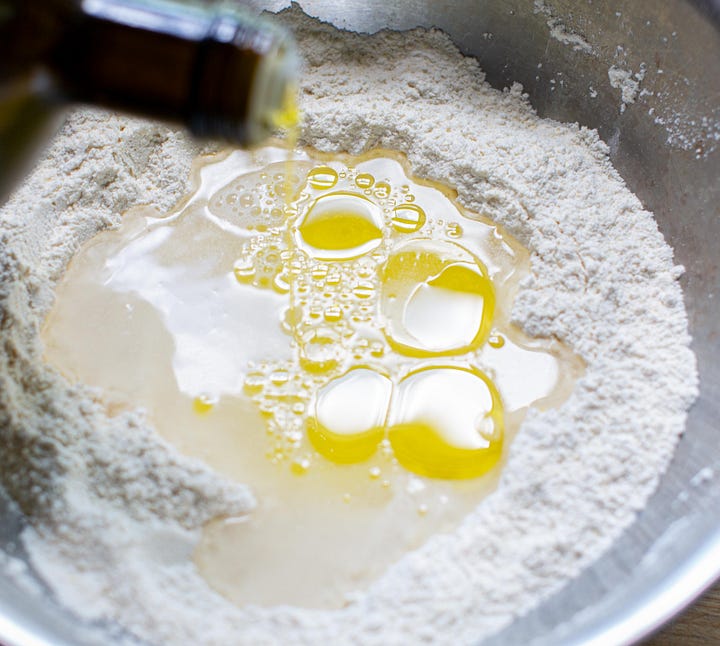
Olive oil, 15g (generous T)
In a medium bowl combine the flour, cornmeal, salt, and yeast. Stir briefly, then add the water and olive oil.
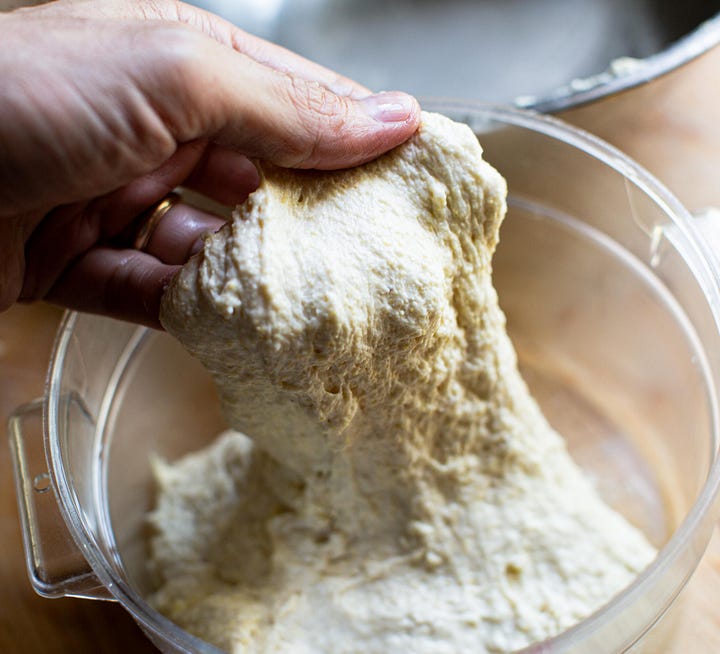
Stir the soft mixture to combine with the handle end of a wooden spoon or sturdy spatula until no dry spots remain, about 2 minutes. The dough will be sticky, weak, and beautifully yellow.
Scrape the dough into an oiled container or bowl and rest for 30 minutes. During the rest, the flour and cornmeal will hydrate, gaining strength and extensibility.
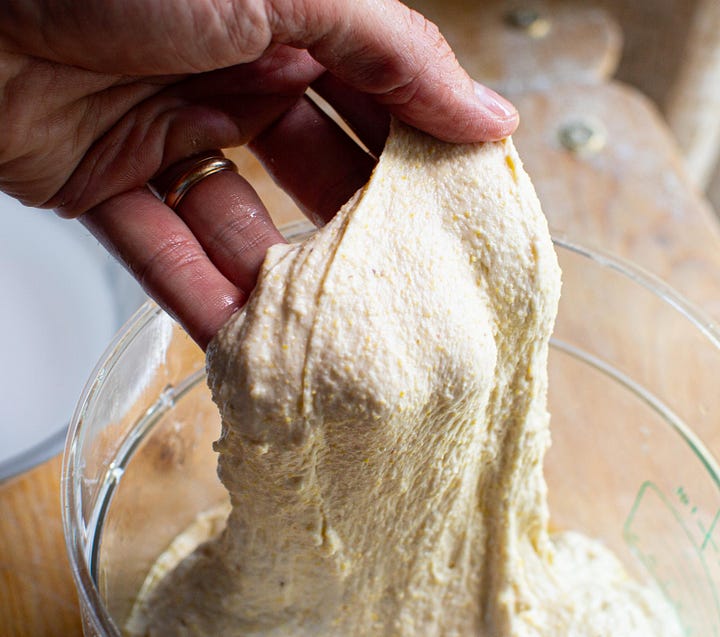
After the rest, perform a bowl fold. With a wet hand, stretch the dough upwards from the edge, then press to seal in the middle. Repeat this motion 8 to 12 times, until the dough has begun to tension and smooth out. Invert the dough in the container and rest for an additional 30 minutes.
After the rest, perform a second bowl fold then invert the dough. Cover the bowl and rest for at least one hour, or up to 120 minutes. *Towards the end of bulk fermentation preheat your tabletop oven to 800°F. (If baking in a home oven, preheat a baking stone or steel for 45 to 60 minutes at 500°F.)
*During the last hour of rise prepare any desired toppings.
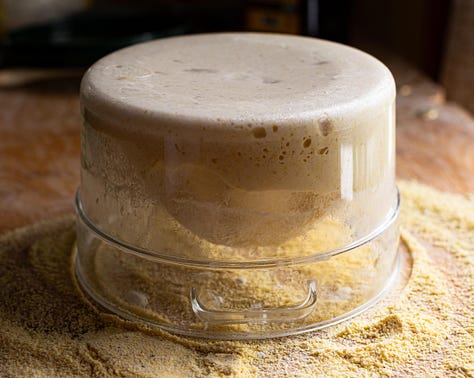
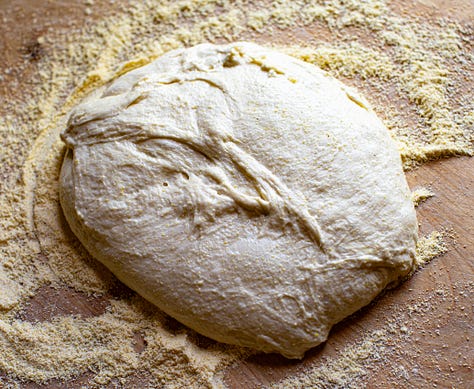
After the rise, invert the dough onto a surface heavily dusted with cornmeal and let it fall out of the container. (It’s important to be gentle with the dough in order for it to stretch easily during the next step.)
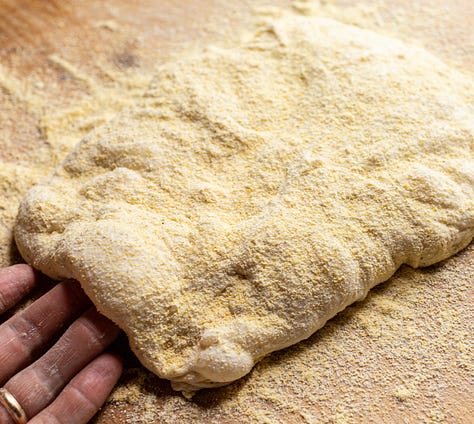
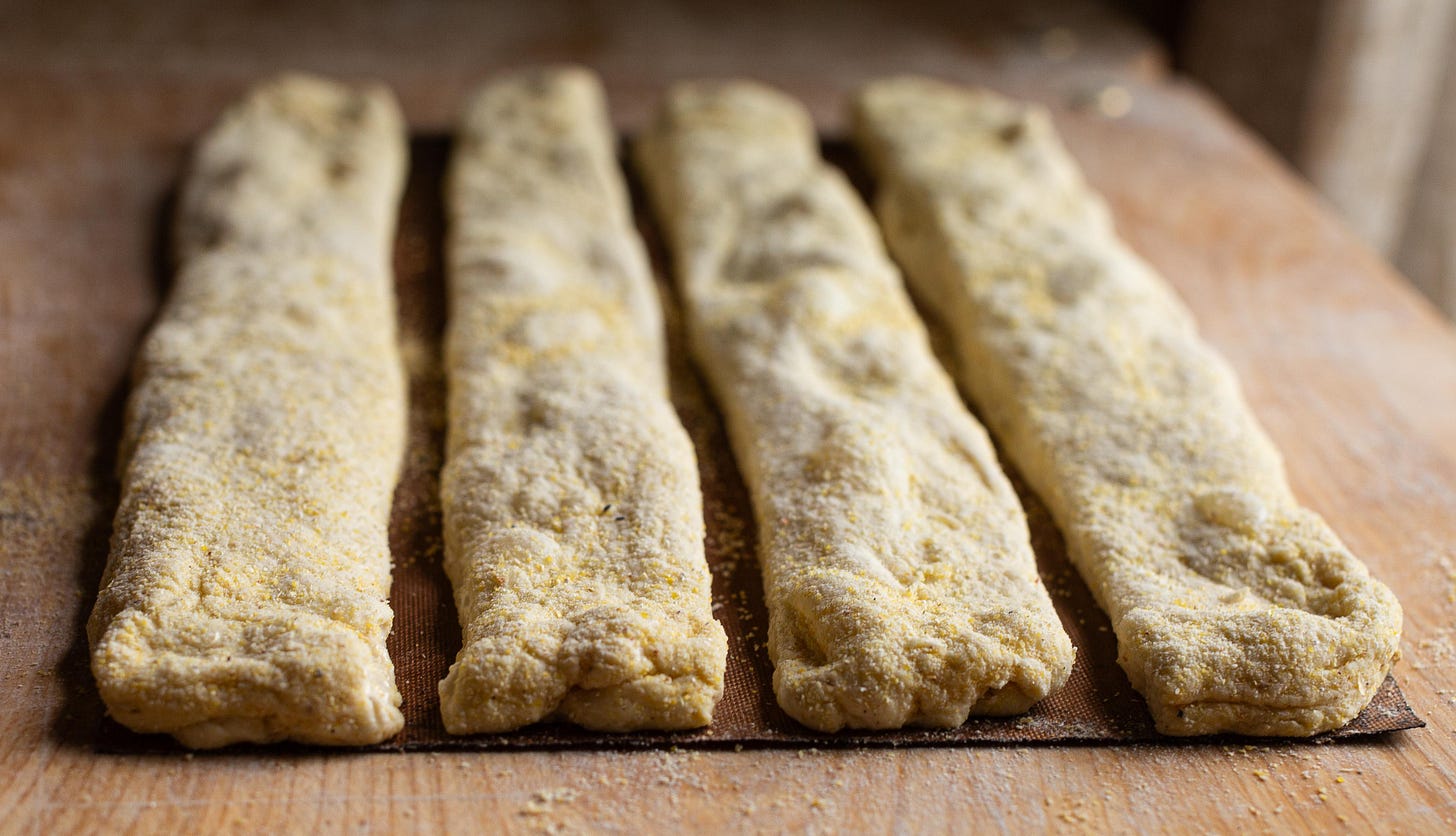
Generously dust the top surface of the dough with additional cornmeal then stretch and manipulate into an even rectangle, roughly 7.5” by 13”. If the dough resists stretching, rest for a few minutes, then try again. It should stretch relatively easily.
After stretching, gently pick up the dough and pat to remove any excess cornmeal.
*Pay attention here as I’m offering a couple options for the bake.
If you plan to bake in your home oven, place the dough on a sheet of parchment and confirm that it’s roughly 7.5” by 13” then proceed to shaping.
For baking in a tabletop pizza oven (such as my Ooni Karu 16), here are some tips.
For me, the soft quality of this dough makes it so that I prefer to top and bake on a copper grill mat (I use scissors to cut a piece that’s roughly 8” by 14” or so). They are widely available and quite cheap — check your local home improvement box store or hardware store (in the grilling section). It is essentially reusable grill parchment. If you want to try working with the dough directly on a loading peel (as you would a pizza), be aware that the soft dough will be prone to sticking. The other option that you may consider is good quality parchment paper. While the parchment isn’t heat-rated for the tabletop oven temperatures, if you pull it out from underneath the bread after the first couple minutes of baking (once the crust has set), it will be fine. To do so, remove the bread with a peel, pull the paper, then slide the bread back onto the baking surface to finish.
To shape the sticks, cut the dough piece lengthwise in half, then half again, making four strips, about 13” long and almost 2” wide. After cutting, distribute them, creating a 1/4” or so of space between each strip.
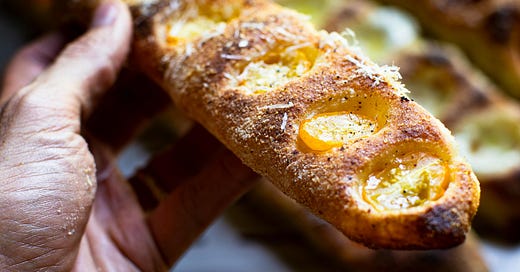
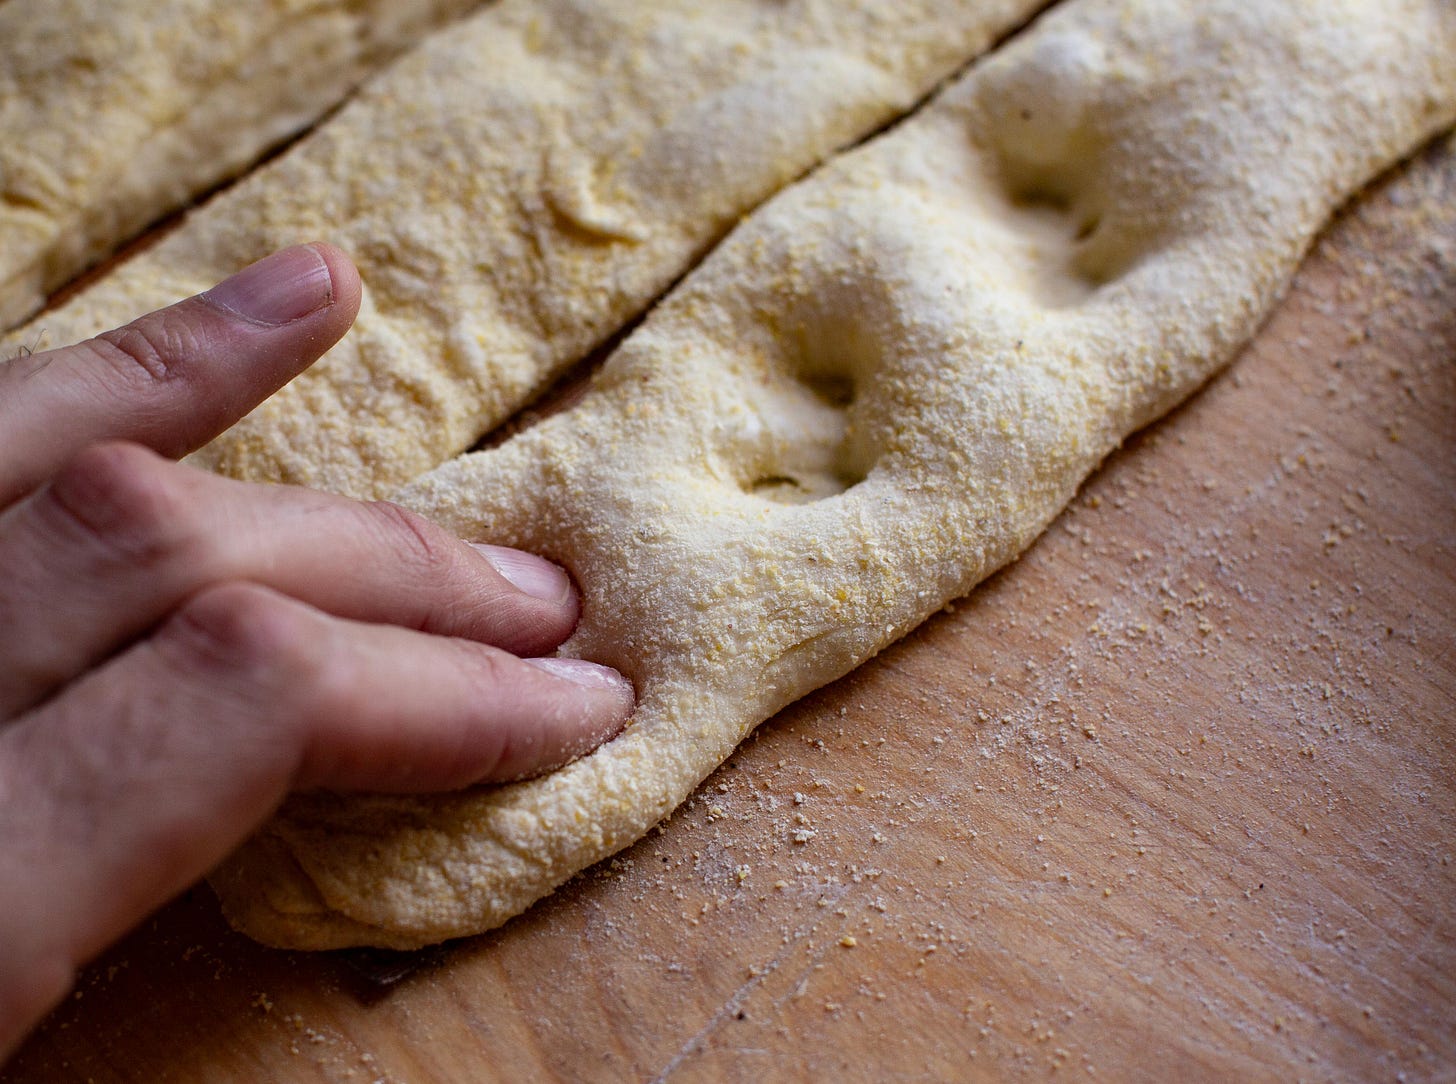
Next, using two fingers, firmly dimple your way along the length of each strip of dough, creating divots where your toppings will sit. Dimple firmly. If you don’t dimple firmly enough, the dough beneath the toppings will bubble and rise, giving an odd (but just as flavorful) look to the pieces.
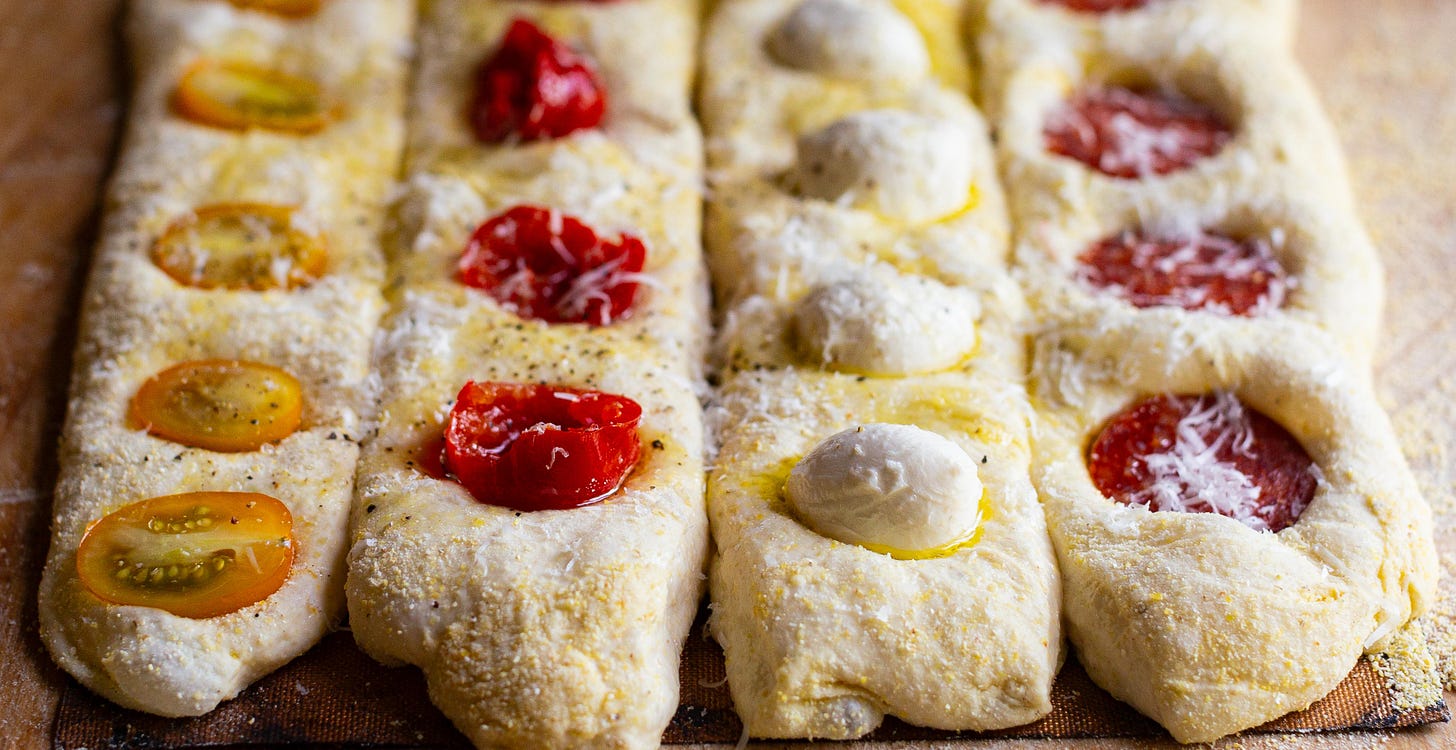
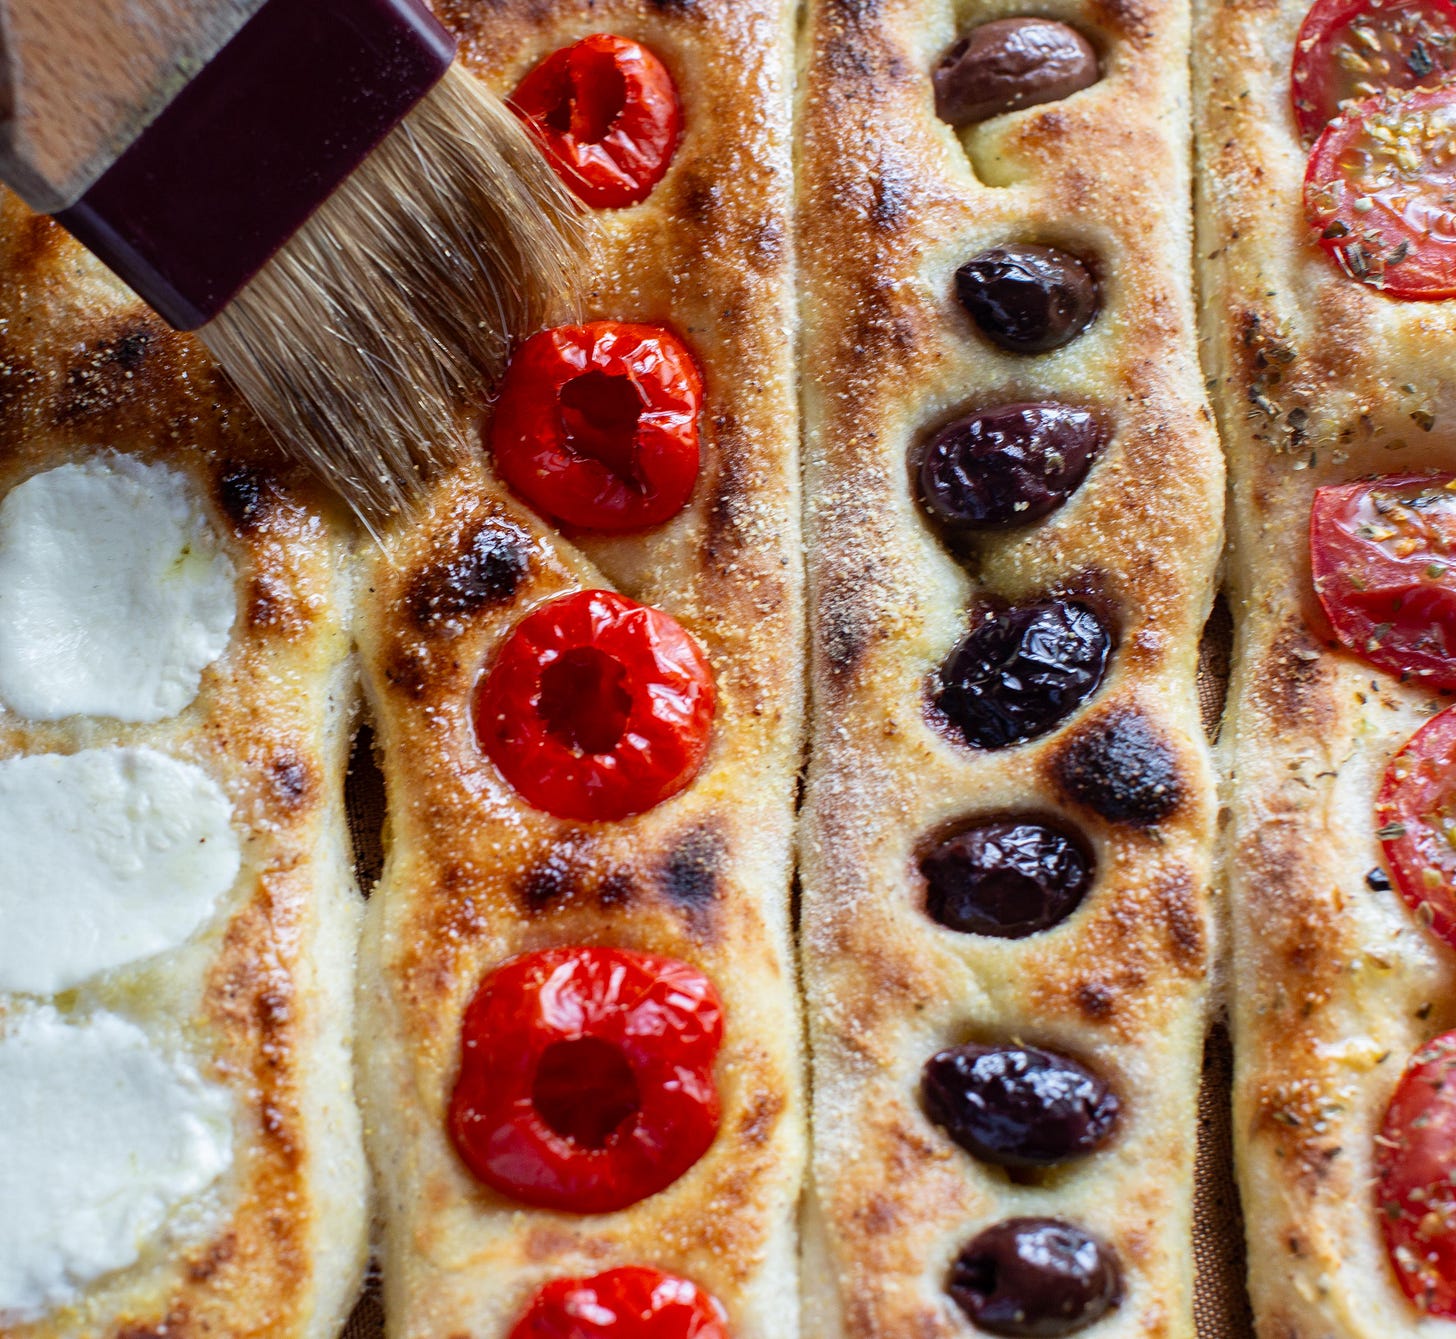
For toppings, I like things that fit well in the small impressions in the dough: large cherry tomatoes, cut in half, small rounds of fresh mozzarella, freshly split figs, Calabrian chiles, olives, and so forth. After adding the toppings press them firmly down, into the dough. Garnish with herbs, coarse salt, chili flakes, olive oil, lemon zest, anything you like, then bake.
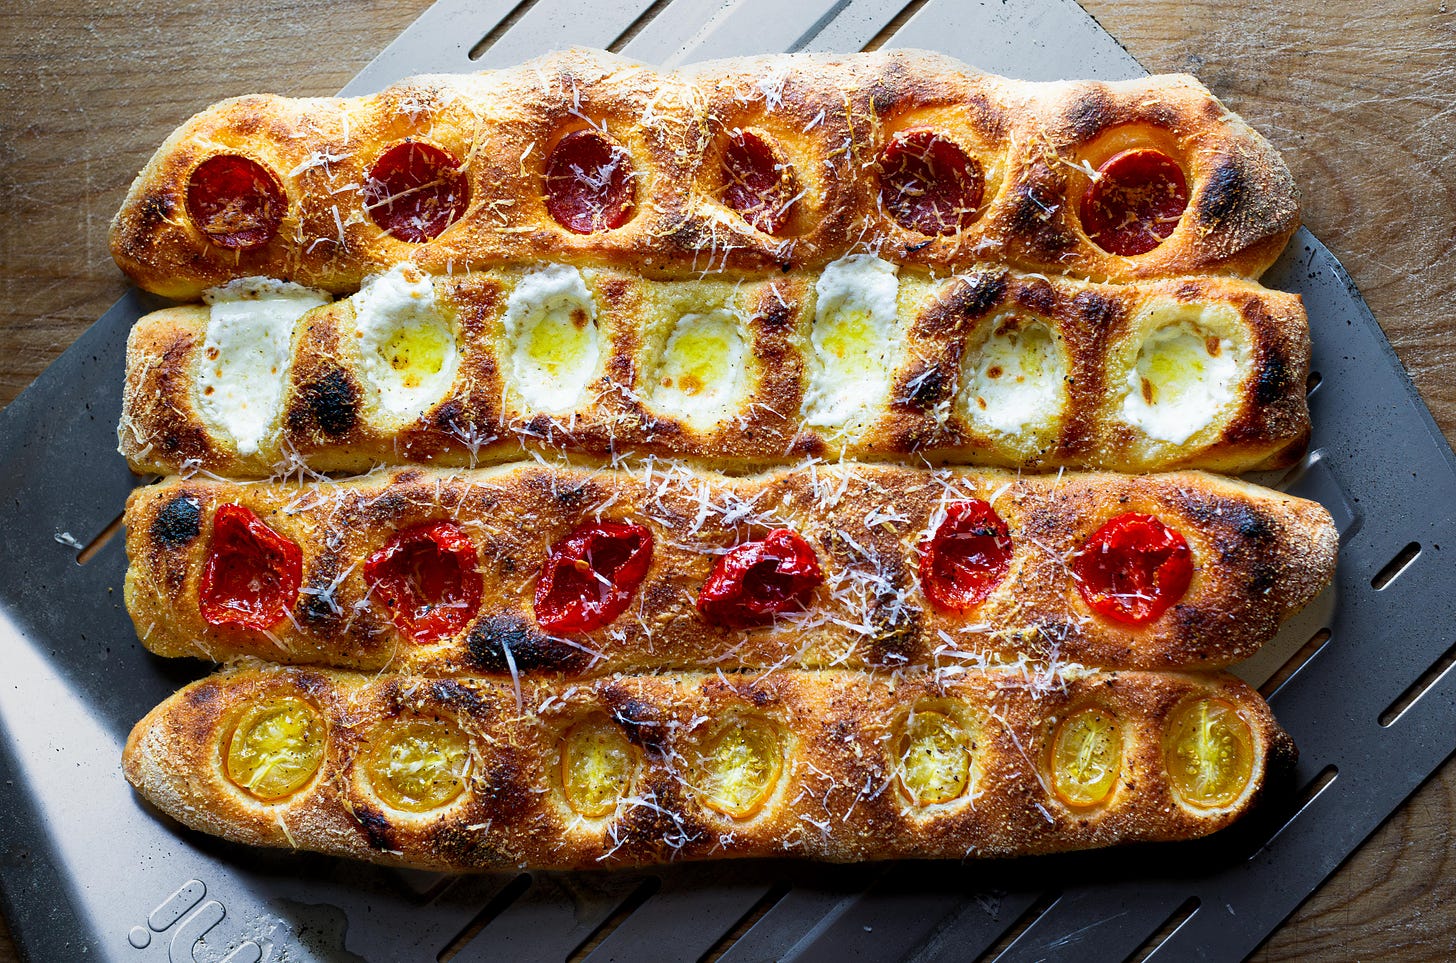
For the bake, as soon as I load the pieces into my Ooni (again, preheated to 800°F or so) I immediately reduce the flame to its lowest possible setting. I watch the loaves, turning the whole thing 90° every 30 seconds or so, checking the bottom to make sure that it doesn’t take too much color. If it’s fully baked and the top needs more color, I increase the flame for a few seconds, allowing time for the top to fully bake and darken in spots as a Neapolitan pizza might. Once I reach the color that I like and have a crisp bottom crust with the full kiss of the oven showing in places, I remove and place on a cooling rack to finish setting and cool slightly.
For the home oven, bake for 10 to 14 minutes, rotating as necessary. If the bottom has ample color and the top is light, turn on your broiler and let it sizzle the toppings for a minute or so, watching closely. The broiler will add a desirable color.
As a final touch, brush with olive oil. Serve warm!



Yummy-looking!! Wish I could be a taste tester in your house!
Couldn't resist – making a batch as I type. We're a bit nervous though cos we're not very good at handling soft doughs. Hope they turn out, though I'm sure they won't be anywhere as beautiful as yours.