The Baguette of Summer
A crustier, more humidity-proof sourdough baguette
Are we still mid-summer? Let’s say, yes. My college-bound kids are leaving in a few weeks (eeeek!) and we’re doing what we can to milk this reluctant New England season for all it’s worth.
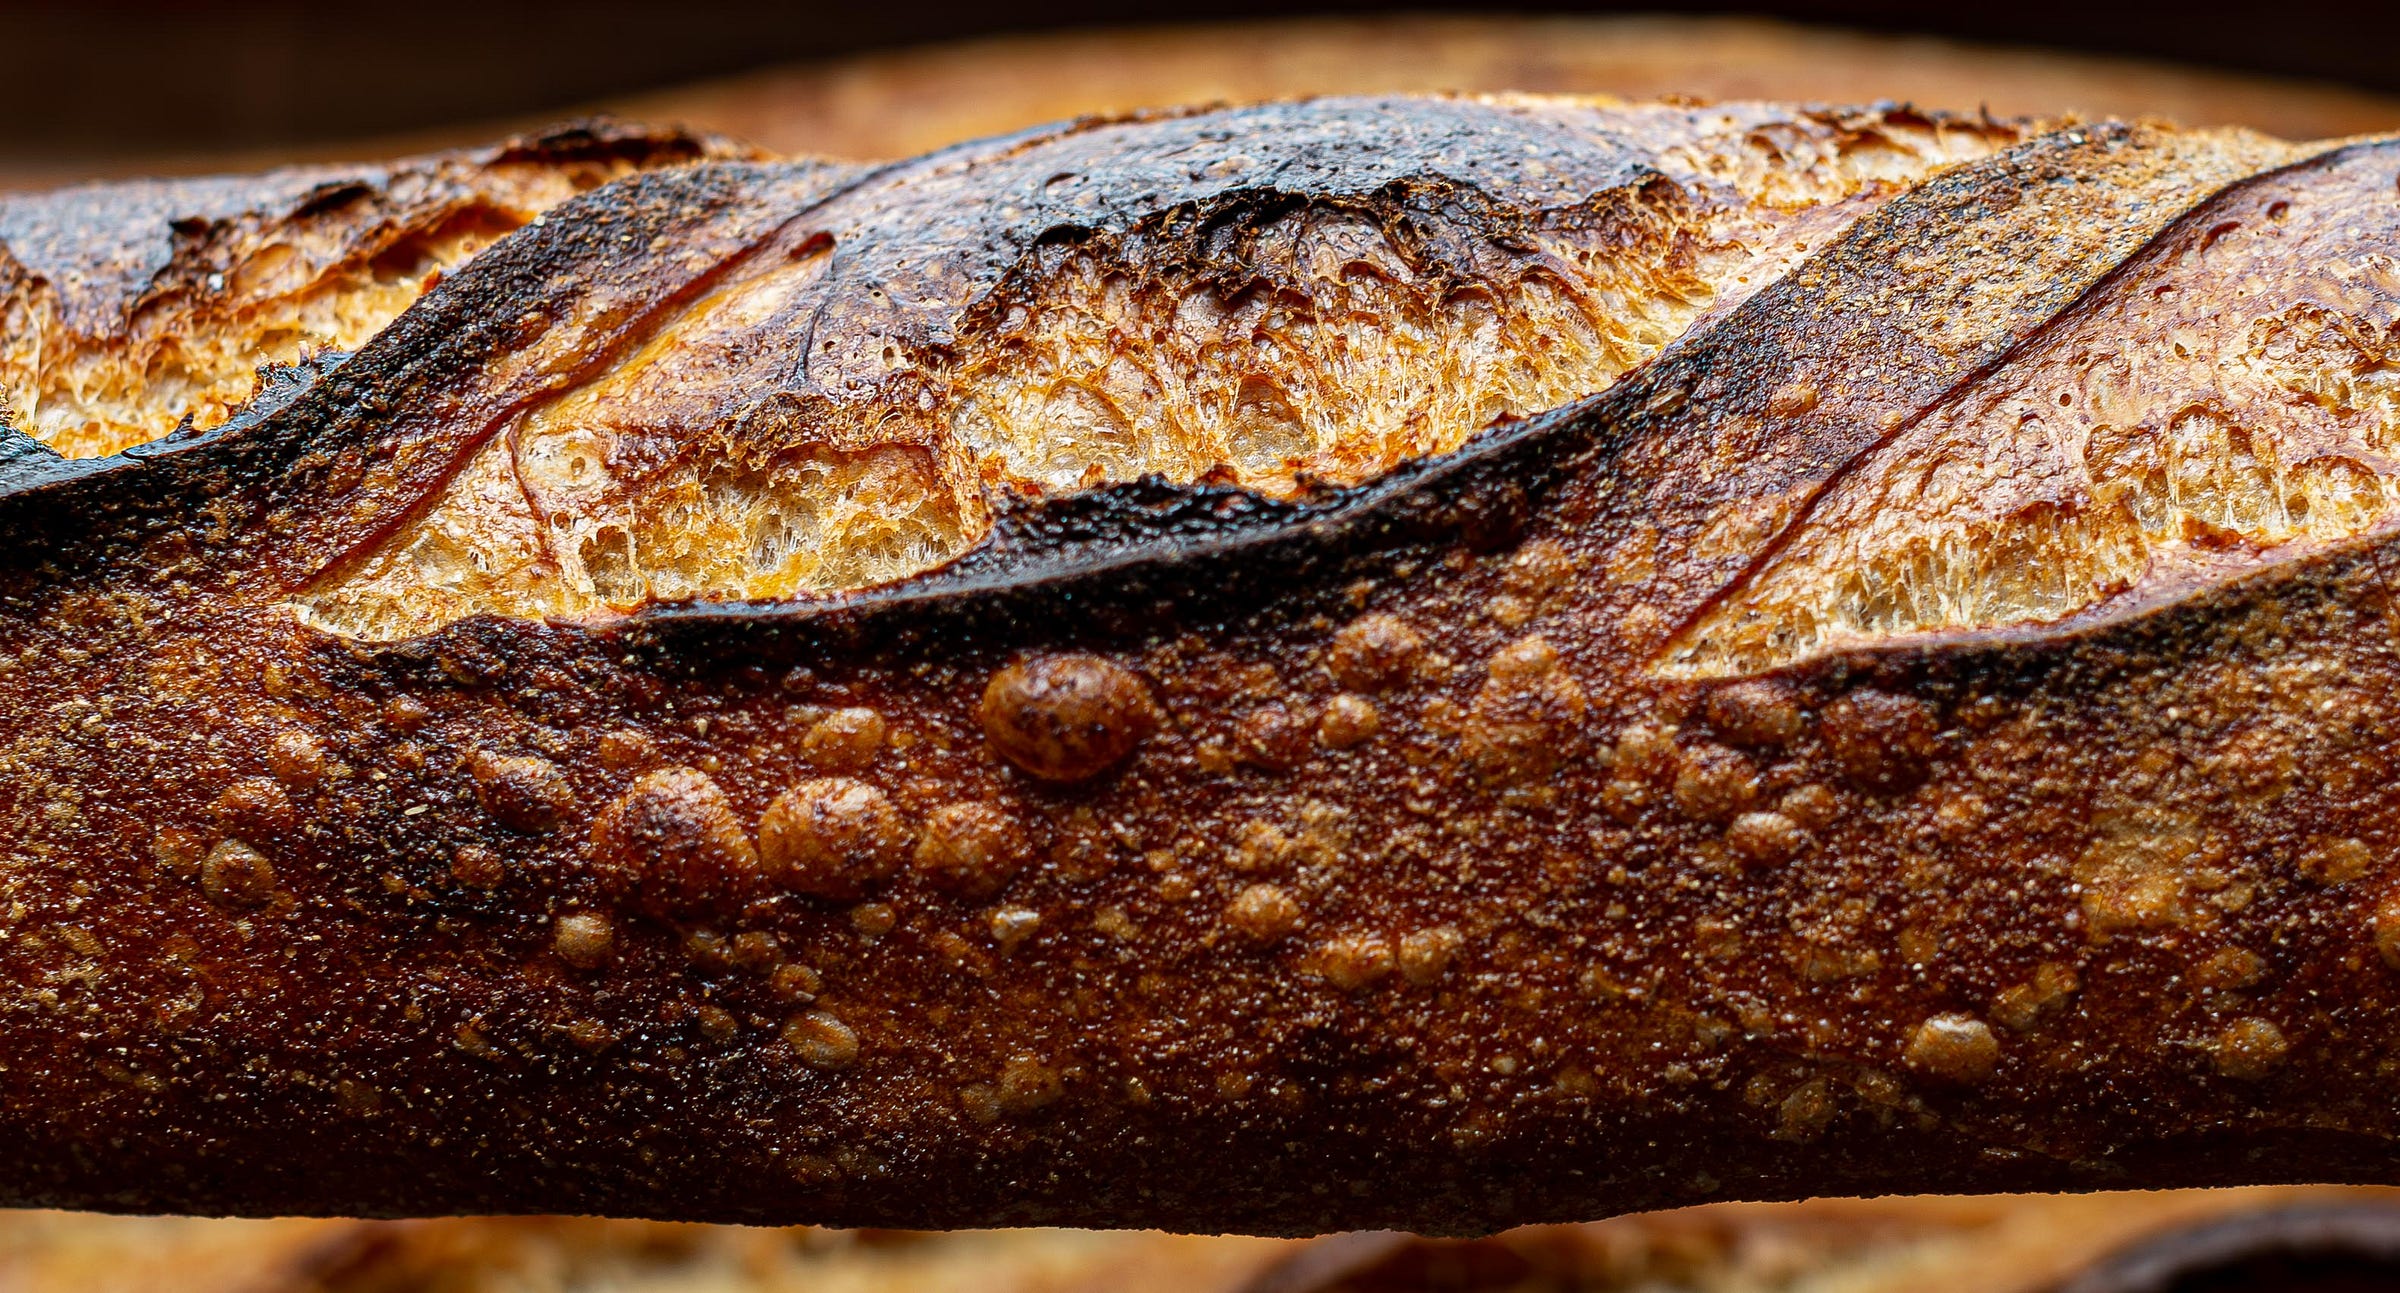
I’ve been working on a baguette that holds its crust (*a little longer*). It’s slightly less hydrated, sourdough-leavened, and after shaping, it’s chilled overnight before baking. All of this combines to present the perfect vessel for tomato sandwiches and many of our other summer treasures. So, here it is, the baguette of summer.
Happy Baking, Martin
It’s Sunday afternoon and I’m feeling restless about my baguettes. Their crumb is gorgeous, the cuts open well, and they have great flavor. So what’s the problem, Marty?
Here’s the thing, the humidity here has topped 90% for weeks. Our wood floors and walls are sticky, the laundry won’t dry, and there’s no break in sight as soppy Vermont swims in heavy rains, following a stretch of catastrophic flooding.
While my bread woes are small in the scheme of things, baking — making something for myself or others — is grounding. It brings a focused break from heavy thoughts and difficult scenes in my little green state (and beyond, as the world sets new records for heat and other climatic disturbance).
In less humid months a good baguette, while always ephemeral, will hold its crispness for at least a couple hours. During that time, the bread is light and eggshell-crisp with a glossy, air-filled interior.
But in July the thin crust disappears in about 10 minutes — after an hour you could wrap it around your neck like a scarf if you needed to.
With this in mind I decide to run towards something I usually avoid: a thicker crust.
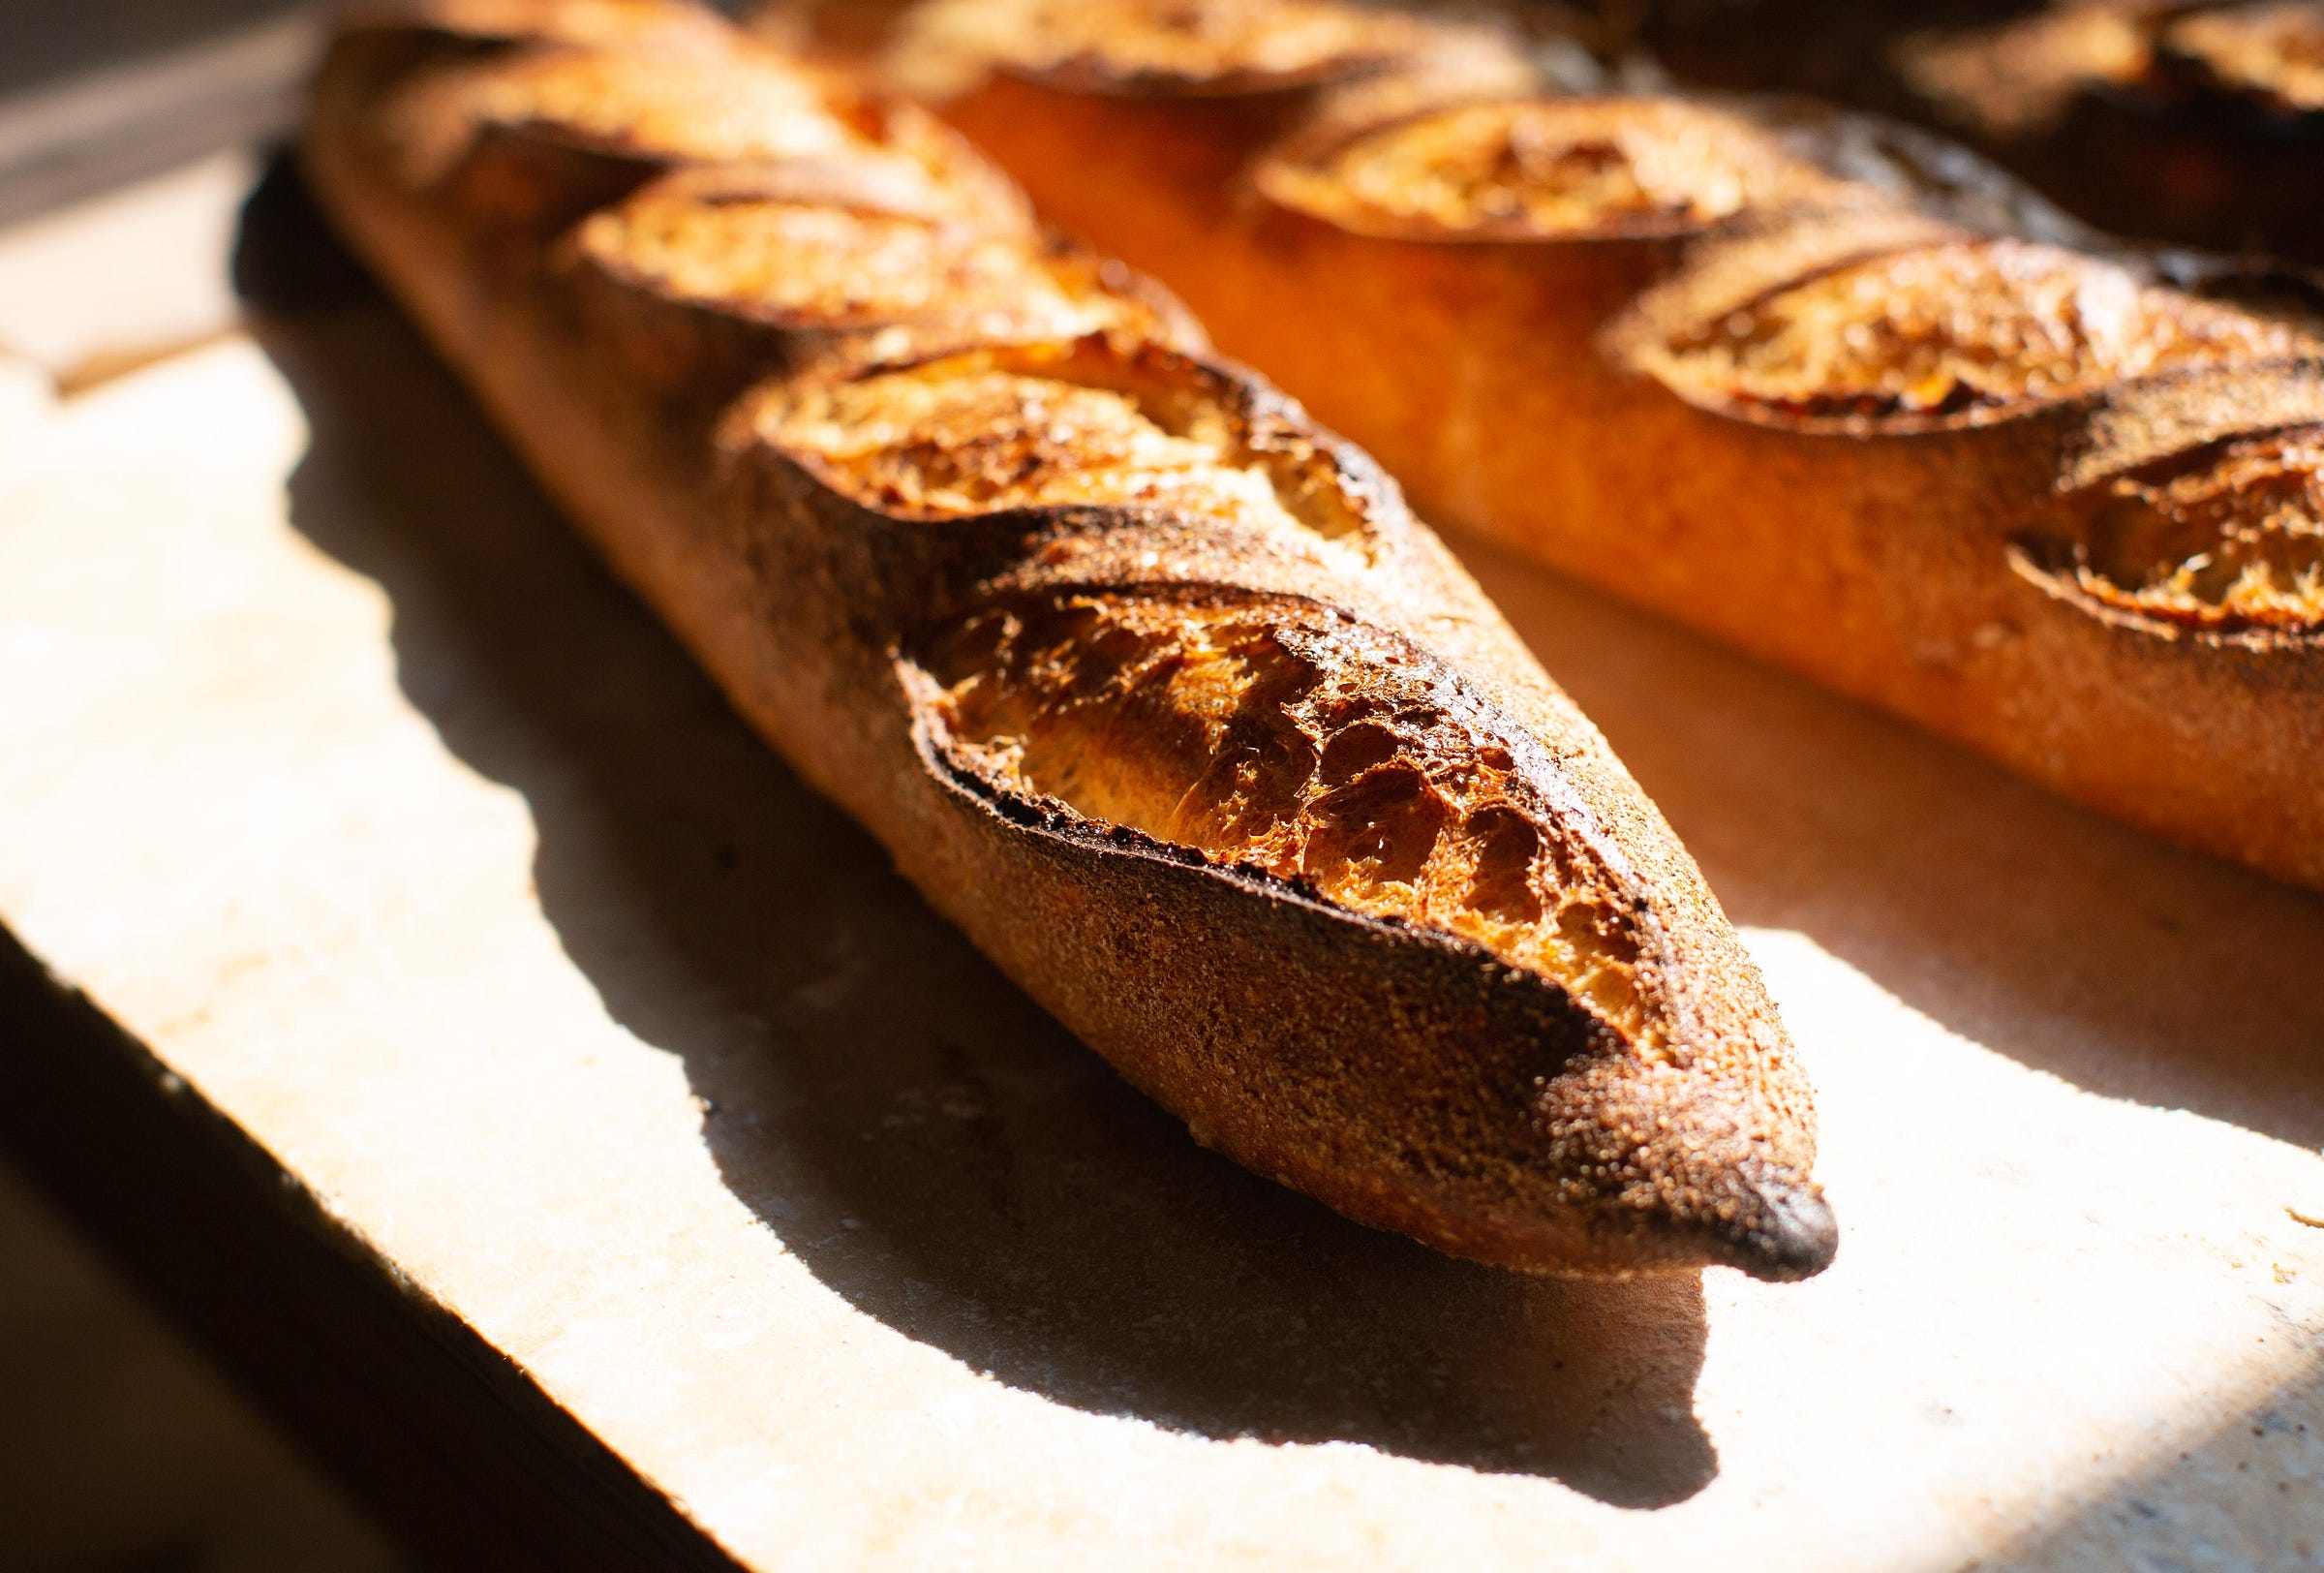
The chase is on. I start with an image in my head of an ideal summer baguette. It should have a shiny, blistered crust with sharp ears where it was scored. When squeezed after the bake it should crunch like lightbulbs inside a leather glove: a thousand tiny crackles. The crumb should smell like fresh toast made with sharp, flinty wheat, with a balance of malty sweetness and gentle acidity.
For my batch size I decide on 400g for each dough piece. That’s large for an 18” home-sized baguette (a normal 26” bakery baguette weighs the same) but, because I know the crust will be thick (I’ll explain that in a second), I want a slightly larger amount of crumb to offset the crust. If I make a skinny little baguette and use the same process that I’m about to describe, it will eat more like a breadstick than a loaf.
For flours, I choose a portion of whole grain for flavor and visual texture. I set the hydration at 80%. I mix the dough, ferment it with folds, then divide and preshape, rest, then shape (all normal, so far!) and set the loaves on a couche to rise overnight. And here’s the part where we fix the soft crust.
Are you that sourdough baker who likes to chill your loaves after shaping? If so, you know how they are sturdier than a loaf that was shaped and proofed at room temperature. As our shaped loaves chill in the refrigerator they firm up some due to a loss of moisture (I always cover the tops but not the sides of the baskets). During the cold period they also continue to develop flavor and, a good side benefit for baguettes, they score much, much more easily once chilled.
And so, hunting the sturdy crust, after shaping the baguettes I cover them and set on the counter to rise for a bit before chilling overnight.
My notes on that first bake were basically as follows: too wet, too flat after proofing (needs more strength), crumb is too moist. The crust was crunchy but removing a little water will improve it further. (One side note here, yes, pulling out water can — and will — impact the structure. I’m choosing crust over holes for now.)
My second run (and third and fourth) amounted to more adjustments to the water and an increase in the preferment quantity. More preferment increases dough activity allowing me to shorten the period of bulk fermentation. This will help to avoid too acidic of a flavor profile. The other change is that I bake to a deeper color. More time in the oven also allows for more moisture loss and brings more “set” to the crust. More bake = more crust.
With the changes on board and tests under my belt, I’m happy. Is it bulletproof? Well, no. It’s a serious improvement over my usual and a nice change but, with our continuing soppy summer they eventually do give up the ghost and soften, too. But only if they last that long. Enjoy the recipe and reach out with any questions.
The Baguette of Summer
All-purpose flour, 104g
Water, tepid, 104g
Sourdough culture, 10g (stiff or liquid, even rye sourdough, it doesn’t matter as long as it’s healthy)
Day one. Combine the water, sourdough culture, and flour and set to rise overnight or, until bubbly and active, about 8 to 12 hours.
All-purpose flour, 493g
Whole wheat flour, 97g
Water*, 375g
Salt, 16g
Liquid levain, 219g
*We want a dough temperature in the 74 to 76°F range. With a room temperature in the low 70s that means my water is in the mid to high 70s. If your room is hotter (or cooler), adjust accordingly.
Day two. In a medium bowl combine the water and liquid levain and stir to combine. Add the salt and flours and stir, fold, and smear, until fully incorporated and homogenous. Scrape the sides then cover and place in a warm spot to rise.
The dough will receive two folds the first hour of bulk fermentation then rest for an additional 2 to 3 hours.
After 30 minutes perform a bowl fold. Working your way around the dough, perform 8 to 12 folds, stretching and pressing the outside of the mass into the center. After the bowl fold invert the mass so that the smooth portion is on top. Cover and rest for 30 minutes.
After 30 minutes (or, one hour after finishing the mix), perform a coil fold. With wet hands, lift the dough in the middle (around its waist) and stretch, then fold it upon itself. Rotate the container 90°, lift and stretch again, then rotate 90° one final time (for a total of three coil folds), then cover for the remainder of bulk fermentation (2 to three hours).
At the end of bulk the dough should feel active, and spongy but but may not have doubled in volume. That’s ok.
To divide, lightly dust the top of the dough then release the sides using a flexible scraper. Dump the dough onto a lightly floured surface. Lightly dust the top side then divide into three equal pieces, roughly 400g each.
Preshape the pieces into loose tubes, about 5.5” to 6” wide. Rest seam side down, covered, for 10 to 15 minutes.
While the preshapes rest, prepare your baker’s linen or “couche.” *One note here regarding the dusting flour. To ensure that the loaves will release after the long cold rise, I use an equal blend of rice flour, all-purpose, and whole wheat flour. Be generous with the dusting.
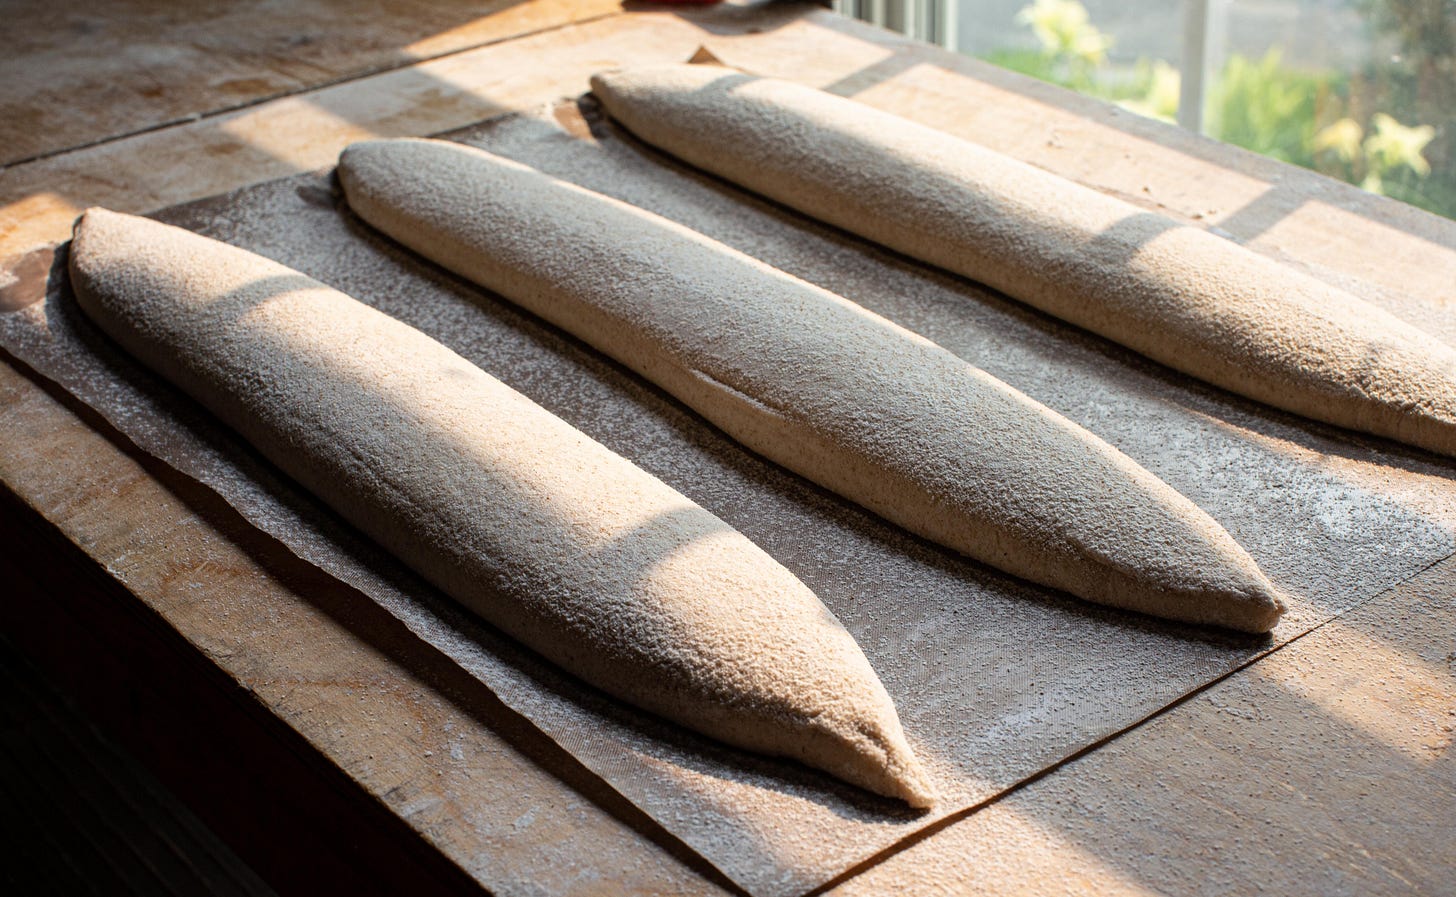
To shape the baguettes, place a tube preshape seam-side-up on a lightly floured surface. Pat briefly to remove any large air bubbles. Fold the tube like a letter along its long axis, then fold the edge furthest away to the leading edge, lightly pressing to seal with the heel of your hand. (Let’s acknowledge that this is hard to understand or describe if you haven’t shaped a baguette before. Please have a look at the video for a better view of the process.)
After shaping, place the baguettes on the floured couche, seam-side-up, pleating the cloth between them for support and to keep them from sticking to each other. Set to rise for 15 to 30 minutes or, until they just begin to soften and feel *slightly* spongy. Cover well (a plastic lid or similar, that will provide a moisture barrier against the drying effects of the refrigerator) and set to chill in the refrigerator for 8 to 12 hours.
Day three. Preheat the oven to 500˚F with a baking stone or steel as well as your steaming mechanism in place.
To load the baguettes I recommend inverting them onto a sheet of parchment (which you will eventually slide onto your preheated baking surface as I do here and here).
Score the baguettes, load, then steam. After 5 minutes reduce the oven to 475˚F and set a timer for 15 minutes. At 20 minutes of baking, check the loaves for color (including the bottoms) and rotate if necessary. Continue baking until the crust is deeply colored and the ears look oven-kissed (bakers call the black line on the ear, “eyeliner”). In my oven I’ve found that 27 to 28 minutes is the sweet spot. If, by 28 minutes you don’t have deep color, try leaving the oven at 500°F for subsequent bakes and also make sure that your steaming system is producing enough moisture. Without the moisture, browning will not occur as readily.
Happy summer!
Martin


Very nice, as usual. Your documented experimentation is impressive and your writing is quite nice.
Just scored these baguettes and so much easier! Is it because it’s cold? I just need to time it better- found myself shaping baguettes at midnight ha!